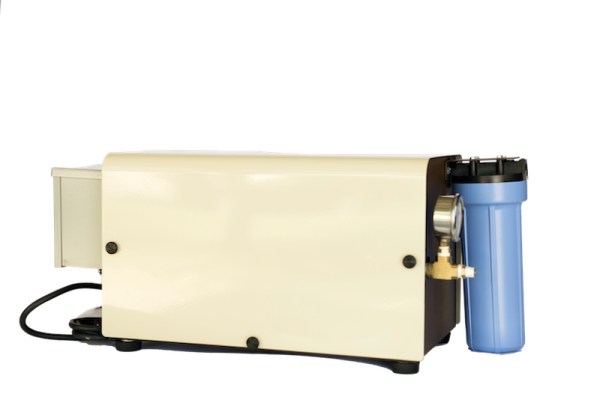
Misting System Pump
If you are a DIY kind of guy and you like to service or repair things around your house (like for instance your misting system pump) then this blog is for you.
Say it’s the middle of January and the weather has turned very cold. Freezing during the early morning hours. It occurs to you that you forgot to call Modern Misting Systems to have them shut down /winterize your misting system pump for the season. You see a leak coming from your misting pump area…. Bummer, your filter housing has frozen and split and now its leaking on your side yard. Your neighbor is mad because the water has leaked into his yard too. What do you do? First I would suggest calling us…..But if you want to fix the leak from your misting pump on your own, here’s what you do.
Step by step instructions on how to replace your filter housing on your misting system pump. GO!
Assuming you already purchased a special filter wrench (because you like to do things on your own) follow these steps below…..- Shut the water off to the misting system pump
- Using the filter wrench remove the blue filter housing bottom from the top of the housing (black portion)
- Disconnect the inlet water line from the front of the housing top (inlet)
- Take out the screws securing the top of the housing to the frame
- Remove the cover on the misting pump (if equipt) to allow access to the internal of the misting machine
- Unscrew the housing from the internal plumbing on the inside of the misting pump. You may need to unscrew the top at an angle to avoid hitting the filter bracket
- Apply teflon tape to the threads of the fitting from the inside of the pump. Teflon should be applied in a clock wise rotation and cover all of the threads
- Screw on the filter housing top from the outlet end to the plumbing from the inside of the pump. The threads should screw all the way into the housing.
- Reinstall the screws securing the top of the housing to the filter bracket.
- Teflon tape the pipe threads on the inlet hose.
- Screw the inlet hose fitting clockwise into the inlet side of the filter housing top. Threads should go all the way into the housing.
- Take new filter cartridge out of wrapper and remove the instruction out of the base of the blue portion of the filter housing. Place filter cartridge into the housing.
- Hand tighten the new blue filter housing base with filter cartridge into the top of the filter housing. Note: Make sure that the rubber o-ring has not fallen out of the new housing or out of its seat in the housing.
- Using the filter wrench tighten the housing firmly. It should rotate roughly 1/2 turn from hand tighten.
- Turn water back on and check for leaks.
- If there is water coming out from between the blue housing and the black top, the o-ring did not seal properly. Loosen the filter housing and check o-ring. Reseal and reinstall.